
leave a message
If you are interested in our products and want to know more details,please leave a message here,we will reply you as soon as we can.

HDPE geomembranes are widely used in landfills, aquaculture ponds, reservoirs, mining projects, wastewater treatment plants, and other containment applications. To achieve reliable waterproofing and long-term performance, every weld must be completed correctly. That is why choosing the right geomembrane welding machine is only the first step—using it properly is just as important.
Poor welding can lead to leaks, weak seams, costly repairs, and project delays. On the other hand, correct welding techniques help create strong, consistent seams, improve construction efficiency, and reduce the need for rework.
Whether you are using a geomembrane welder for the first time or have years of field experience, following a standard welding procedure is the best way to achieve stable, high-quality results.
In this HDPE Geomembrane Welding Tutorial, we’ll walk you through the standard operating procedures (SOP) for a geomembrane welding machine, from equipment preparation and parameter settings to welding, seam inspection, and common operating tips. By following these step-by-step techniques, you can complete HDPE geomembrane welding more safely, efficiently, and with greater confidence on the job site.
Step 1: Preheat the Machine and Set the Welding Parameters
Before starting the geomembrane welder, check the weather and jobsite conditions. Most machines work best within the recommended operating temperature range. If the temperature is below -5°C (23°F) or above 40°C (104°F), adjust the welding parameters as needed and take extra precautions.
1. Connect the Power Supply
Use a stable power source before turning on the machine. If an extension cord is needed, choose one with a conductor size of 2.5 mm² or larger. A cable that is too small may cause a voltage drop, making the heating temperature unstable and affecting weld quality.
2. Set the Welding Temperature
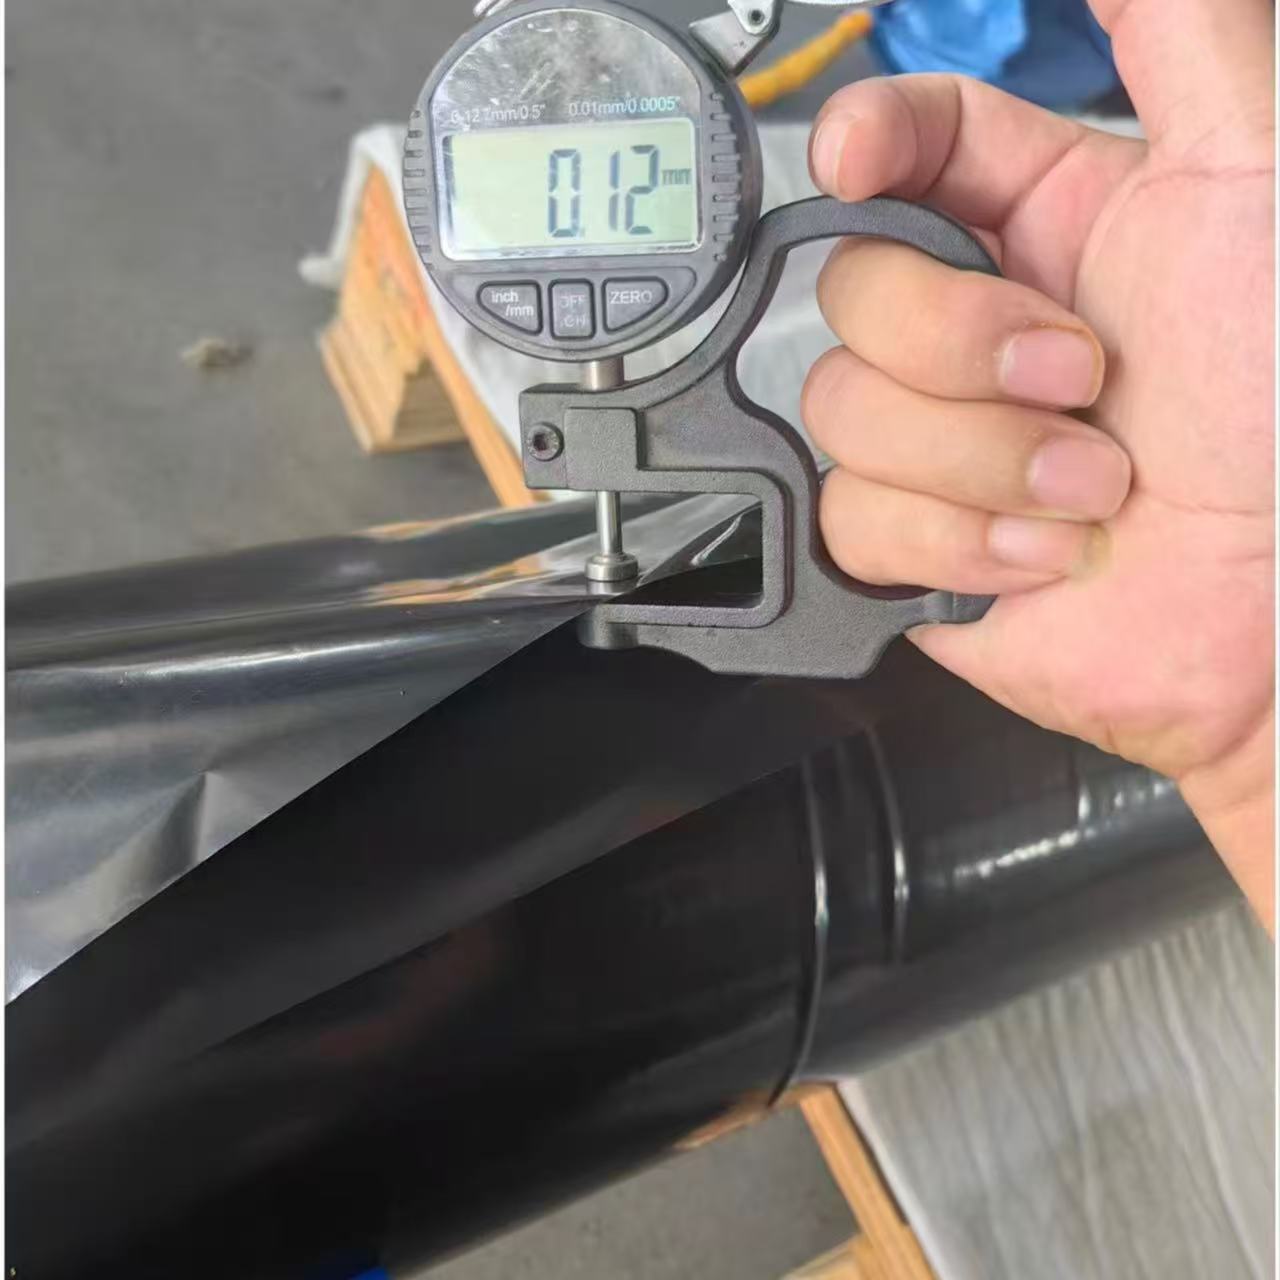
Set the temperature according to the thickness of the HDPE geomembrane. For example, 0.5 mm, 1.0 mm, and 1.5 mm membranes require different temperature settings. Always make adjustments based on the membrane material, thickness, and the manufacturer’s recommendations.
3. Adjust the Welding Speed
Match the welding speed with the selected temperature. If the machine moves too fast, the seam may not fuse completely. If it moves too slowly, the geomembrane may overheat or become damaged. Make a short test weld first, then fine-tune the speed and temperature before starting the main installation.
Step 2: Perform a Test Weld and Peel Test
Before starting the main installation, always complete a test weld. This simple step helps you confirm that the welding temperature, speed, and pressure are correctly matched to the HDPE geomembrane and the current jobsite conditions.
1. Make a Test Weld
Use a scrap piece of HDPE geomembrane from the same roll or the same material that will be used for the project. Make a short test weld using the planned machine settings.
2. Check the Weld Seam
Look at the finished seam carefully. A good weld should be smooth, even, and free of bubbles, wrinkles, burns, or other visible defects.
3. Perform Weld Strength Tests
Peel Test
Cut both ends of the test seam and pull the two layers apart by hand or with a testing device. A good weld should cause the HDPE geomembrane itself to tear before the welded seam separates.
Shear Test
Pull the welded sample in the direction of the seam. If the weld is strong enough, the HDPE geomembrane should fail before the weld joint does.
Once the test weld passes both the visual inspection and strength tests, you can begin full-scale geomembrane welding with confidence.
Step 3: Begin Production Welding
Production welding begins after the test weld has passed all inspections. Before starting, make sure the welding machine is running at a stable temperature and the jobsite conditions have not changed.
1. Clean the Overlap Area
The overlap area must be clean and dry before welding. Remove dust, mud, water, oil, and any other debris that could affect the weld. A clean surface is essential for a strong, reliable seam.
2. Position the Geomembrane
Align the upper and lower HDPE geomembrane panels and keep the overlap width between 80 mm and 100 mm (8–10 cm). Make sure the overlap is straight and free of wrinkles before welding.
3. Start the Geomembrane Welder
Place the geomembrane welding machine on the overlap area. Lower the heating wedge and pressure rollers into position, then start the drive motor. The machine should move forward smoothly while maintaining even heat, pressure, and welding speed.
4. Monitor the Welding Process
As the automatic welder travels along the seam, keep both hands on the handles and guide the machine in a straight line. Watch for changes in speed, temperature, or machine movement. Stop immediately if the machine leaves the seam or the weld quality appears abnormal.
5. Weld T-Joints and Cross Joints
T-joints and cross joints require extra attention because they are more likely to leak. After the main weld is complete, use a handheld extrusion welder to reinforce these areas and create a continuous, watertight seal.
Common Problems and How to Fix Them
Even with a high-quality geomembrane welding machine, small problems can happen during installation. The good news is that most of them are easy to identify and fix. Here are some of the most common issues you may face on site and the best ways to solve them.
1. Wrinkles Appear After Welding
Possible Cause:
The geomembrane was not laid flat before welding, the overlap was uneven, or the membrane was pulled too tightly during installation.
How to Fix It:
Before you start welding, make sure the HDPE geomembrane is fully relaxed and lying flat on the ground. Remove wrinkles and keep the overlap straight. A smooth surface helps create a stronger, more consistent weld.
2. Weak Weld That Can Be Pulled Apart
Possible Cause:
The welding temperature is too low, the machine is moving too fast, or dirt, dust, moisture, or oil is trapped between the overlap surfaces.
How to Fix It:
Increase the welding temperature slightly and reduce the travel speed if needed. Always clean and dry the overlap area before welding. A clean surface is one of the most important factors for achieving a strong, reliable weld.
3. The Geomembrane Welding Machine Does Not Move Forward
Possible Cause:
Foreign objects may be stuck between the upper and lower pressure rollers. It could also be caused by an unstable power supply or insufficient voltage.
How to Fix It:
Turn off the machine and check whether the pressure rollers are blocked by dirt or debris. Clean the rollers if necessary. Then check that the power supply and voltage meet the machine’s operating requirements before restarting.
4. Weld Seam Looks Uneven or Inconsistent
Possible Cause:
The welding speed changes during operation, the overlap width is inconsistent, or the machine is not traveling in a straight line.
How to Fix It:
Keep a steady welding speed and maintain an overlap width of about 80–100 mm. Guide the welding machine smoothly along the seam without sudden stops or direction changes.
5. Burn Marks or Holes in the Geomembrane
Possible Cause:
The welding temperature is too high, or the machine stays in one place for too long.
How to Fix It:
Reduce the temperature setting and keep the machine moving at a steady speed. If you are working with a different membrane thickness, perform a test weld first to find the best temperature and speed settings.
6. Air Channel Fails the Pressure Test
Possible Cause:
The weld is incomplete, the overlap width is insufficient, or there are pinholes or gaps in the seam.
How to Fix It:
Inspect the entire weld carefully and repair any defective sections with an extrusion welder. Repeat the pressure test until the weld passes the required standard.
Conclusion and Purchasing Advice
Learning how to operate a geomembrane welding machine correctly is one of the most important steps in achieving a strong, reliable, and long-lasting waterproofing system. As covered in this guide, every stage of the process—from site preparation and machine setup to welding techniques, seam inspection, and troubleshooting—plays a key role in the overall quality of the project.
Keep in mind that different geomembrane materials and thicknesses require different welding parameters. Before starting large-scale installation, it is always a good idea to perform a test weld and adjust the temperature and travel speed until the weld quality meets the project requirements. Following proper welding procedures and carrying out regular seam inspections can help reduce rework, improve construction efficiency, and extend the service life of the liner system.
If you are looking for a reliable geomembrane welding machine with stable performance, accurate temperature control, and easy operation, we are here to help. Our product range includes Hot Wedge Geomembrane Welding Machines, Extrusion Welders, and other professional welding equipment designed for HDPE, LLDPE, PVC, and other thermoplastic geomembranes.
Our welding equipment is widely used in landfills, mining projects, reservoirs, canals, wastewater treatment plants, aquaculture ponds, and many other environmental and civil engineering applications. Every machine is built for durability, consistent welding performance, and efficient operation under demanding job site conditions.
In addition to supplying high-quality equipment, we also provide OEM customization, technical support, operation guidance, spare parts, and worldwide shipping. Whether you are a distributor, contractor, engineering company, or project owner, our team can help you choose the right welding solution based on your geomembrane type, material thickness, and project requirements.
Explore our product range or contact our technical team today. We will be happy to recommend the most suitable geomembrane welding equipment for your next project and help you achieve safe, efficient, and high-quality installation results.
leave a message
Scan to Wechat/Whatsapp :



 English
 Français
 Deutsch
 Русский
 Español
 Português
 عربي
عربي Tiếng Việt
 Indonesia
 हिन्दी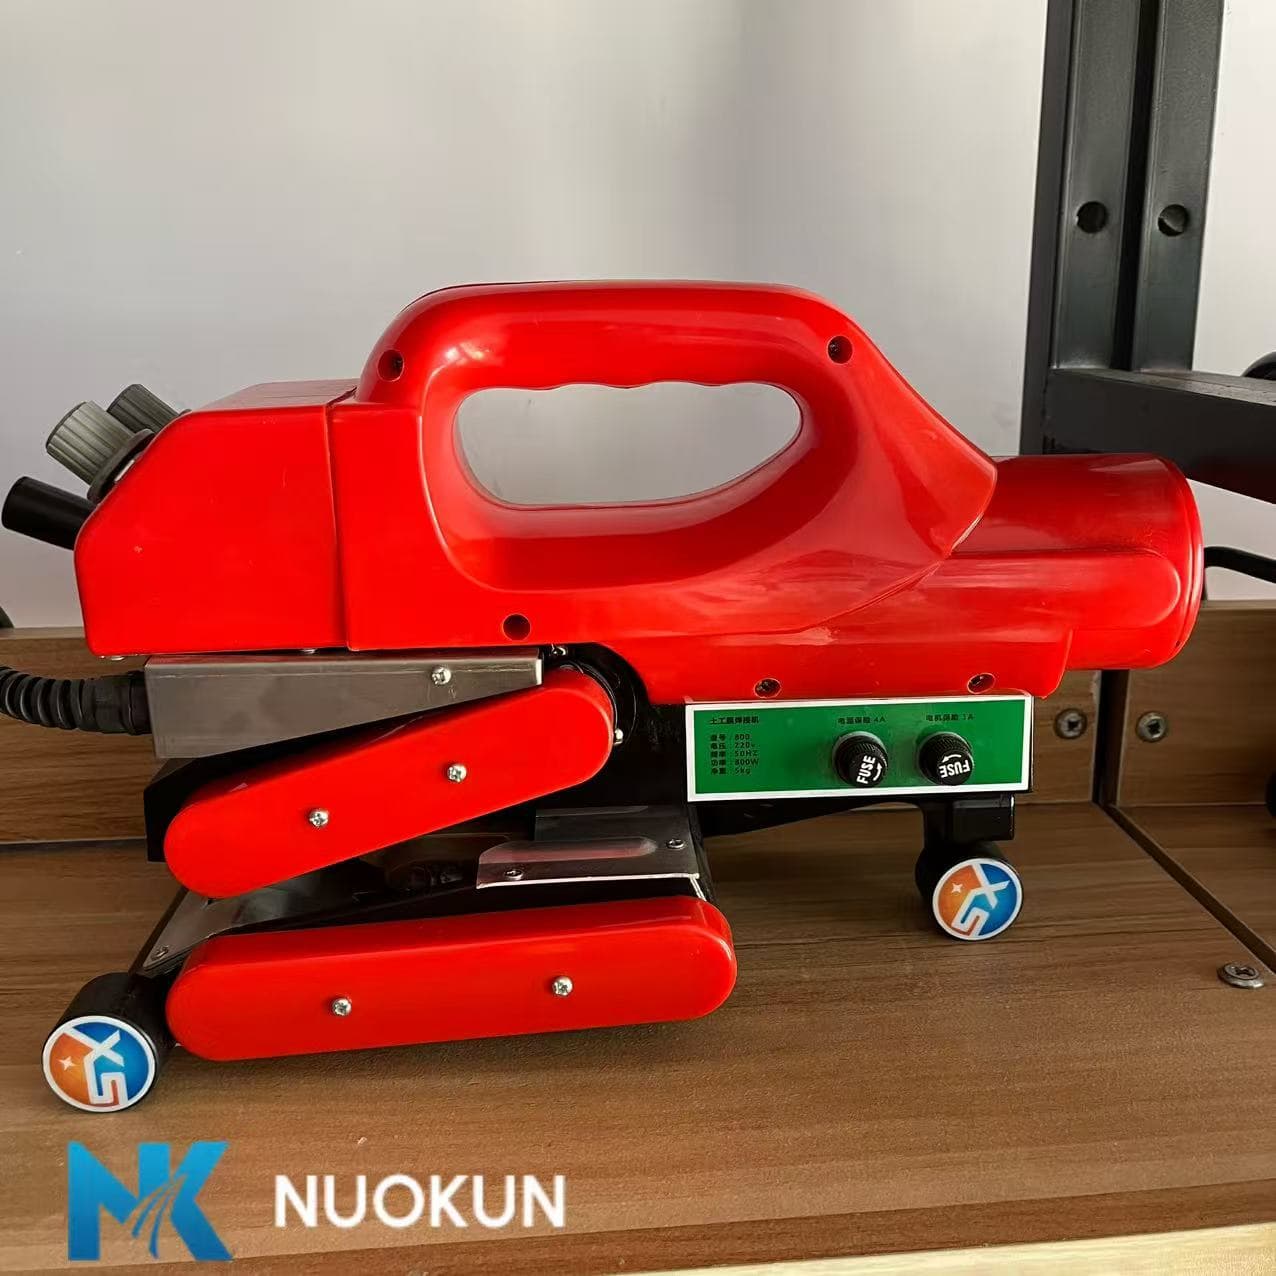


 IPv6 network supported